From scan to delivery: how an aligner case runs
Where does the time in an aligner case actually go, and which steps decide whether your treatment runs predictably? An overview of the full journey, from first scan to retention.
8 min read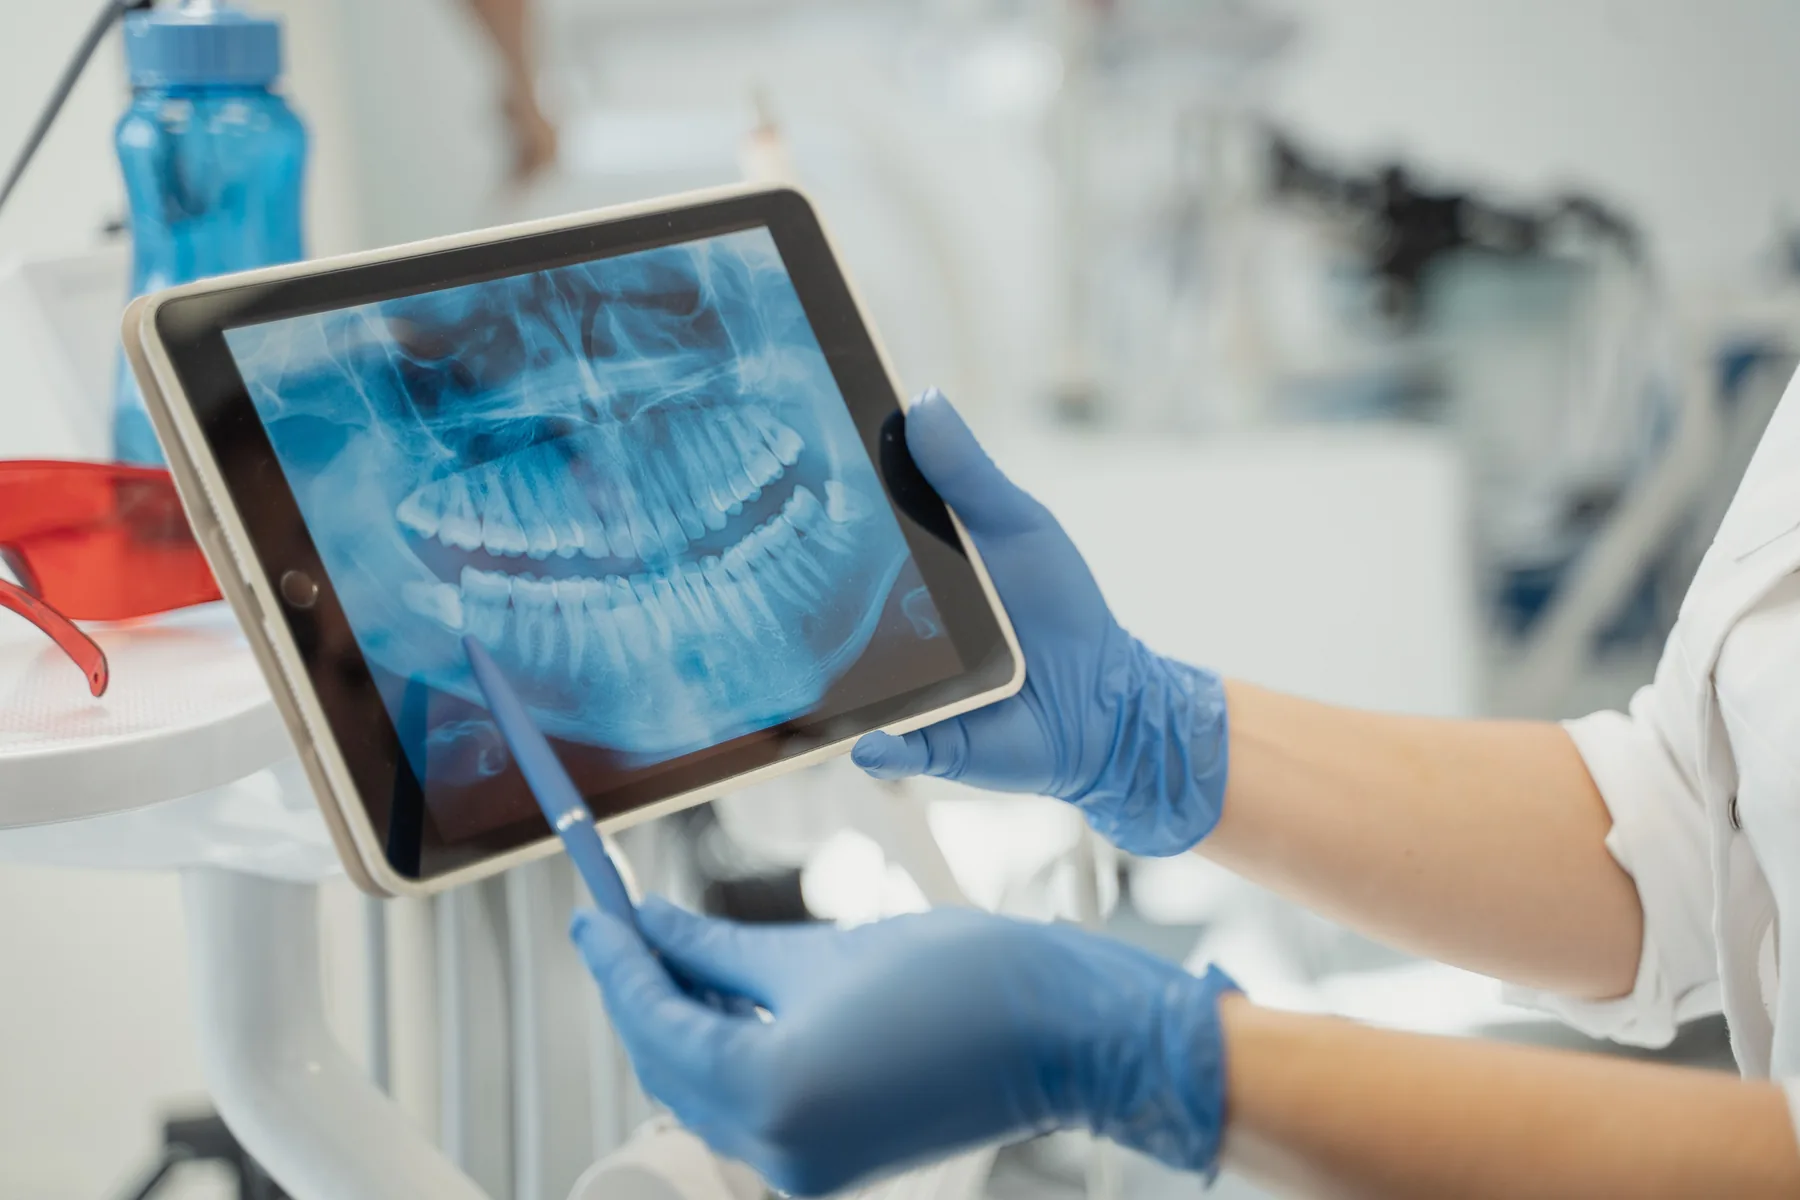
Most aligner problems are not aligner problems
When a case does not run as planned, the system usually gets the blame. The aligners are not tracking, the software planned unrealistic movements, the lab missed something. In practice the cause is rarely there. It sits almost always upstream, in the quality of the scan and in the clarity of the handover to the lab.
That is good news, because scanning problems and handover problems are procedural. They can be solved with agreements, not with a more expensive system.
Below is the full journey: what happens in each phase, what you control yourself and where the time goes.
Phase 1: intake and scanning
The scan determines the rest of the treatment. A plan is not a creative exercise but an execution: the more reliable the scan, the less there is to interpret.
What a complete record contains:
- A full scan of the upper jaw
- A full scan of the lower jaw
- A bite registration
- Intraoral photos, at least with cheek retractors and occlusal
- Notes on existing restorations, missing elements, retainers in place and planned extractions or IPR preferences
That last line looks administrative, but it is the one most often missing and the one that most often leads to rework. A planner who does not know there is a bonded retainer in the lower jaw plans movements that are never going to happen.
Where scanning errors hide
In restorative work, scanning errors show up immediately: the crown does not fit. With aligners it is different. An incomplete scan gives no error message, but surfaces months later as a tooth lagging behind the plan.
The zones that matter most with aligners:
- Full capture of the distal and occlusal surfaces at the back, certainly on the second molars
- Clean interproximal capture at the front, so contact points are not smeared or merged
- Detail at the gingival third, where the trim line and the attachments sit
- No large holes that force the lab to reconstruct anatomy
A fixed sequence helps more than good technique
The best scanning protocols are boring enough for anyone to carry out, even on a busy day. A workable sequence:
- Start occlusal at the back, that gives a stable base
- Move forward to anterior, deliberately and without rushing
- Capture palatal or lingual with good retraction and a dry field
- Finish buccal and repair weak zones straight away
- Take the bite last, once both jaws are complete
The biggest advantage of digital scanning is that you can fix things while the patient is still in the chair. Use it. Repairing a zone costs thirty seconds now, or a return appointment in three weeks.
Phase 2: the treatment plan
Once the scan is sent, the case becomes a file process. At Optimal Aligners the treatment plan is ready within 24 to 48 hours, worked out by an orthodontic specialist. You get a 3D simulation of the full progression with it, from starting point to end result.
That simulation has two functions. Clinically it lets you judge whether the staging is realistic and whether the proposed movements match what you want to achieve. In terms of communication it is the instrument that makes your patient understand what they are signing up for. Someone who sees their own end result on screen asks different questions than someone looking at a quote.
Standard or complex
There are two ways to handle the plan.
With the standard plan the specialist designs the full progression. You approve it or send your adjustment for processing. One refinement is included. That is the choice for anyone who prefers to outsource the planning work and focus on clinical follow-up.
With the complex plan, refinements are unlimited. That is the choice for cases where you know up front that adjustments will be needed: you no longer have to weigh up whether an extra series is worth it.
A quick check before you send
Fifteen seconds of checking often saves days. Four questions are enough:
- Are both jaws complete, without large holes?
- Are the distal surfaces at the back captured?
- Do the anterior edges look real, or smeared by saliva?
- Is the bite registration plausible?
That last question is the one that most often quietly disrupts a case. A bite registered while the patient was slightly open or shifted gives a plan that works on paper and not in the mouth.
Phase 3: production and delivery
After approval the case goes into production. At Optimal Aligners the aligners are designed in Germany, thermoformed at 8 to 10 bar with print layers of 70 micron. Delivery time is a maximum of 10 business days after order confirmation.
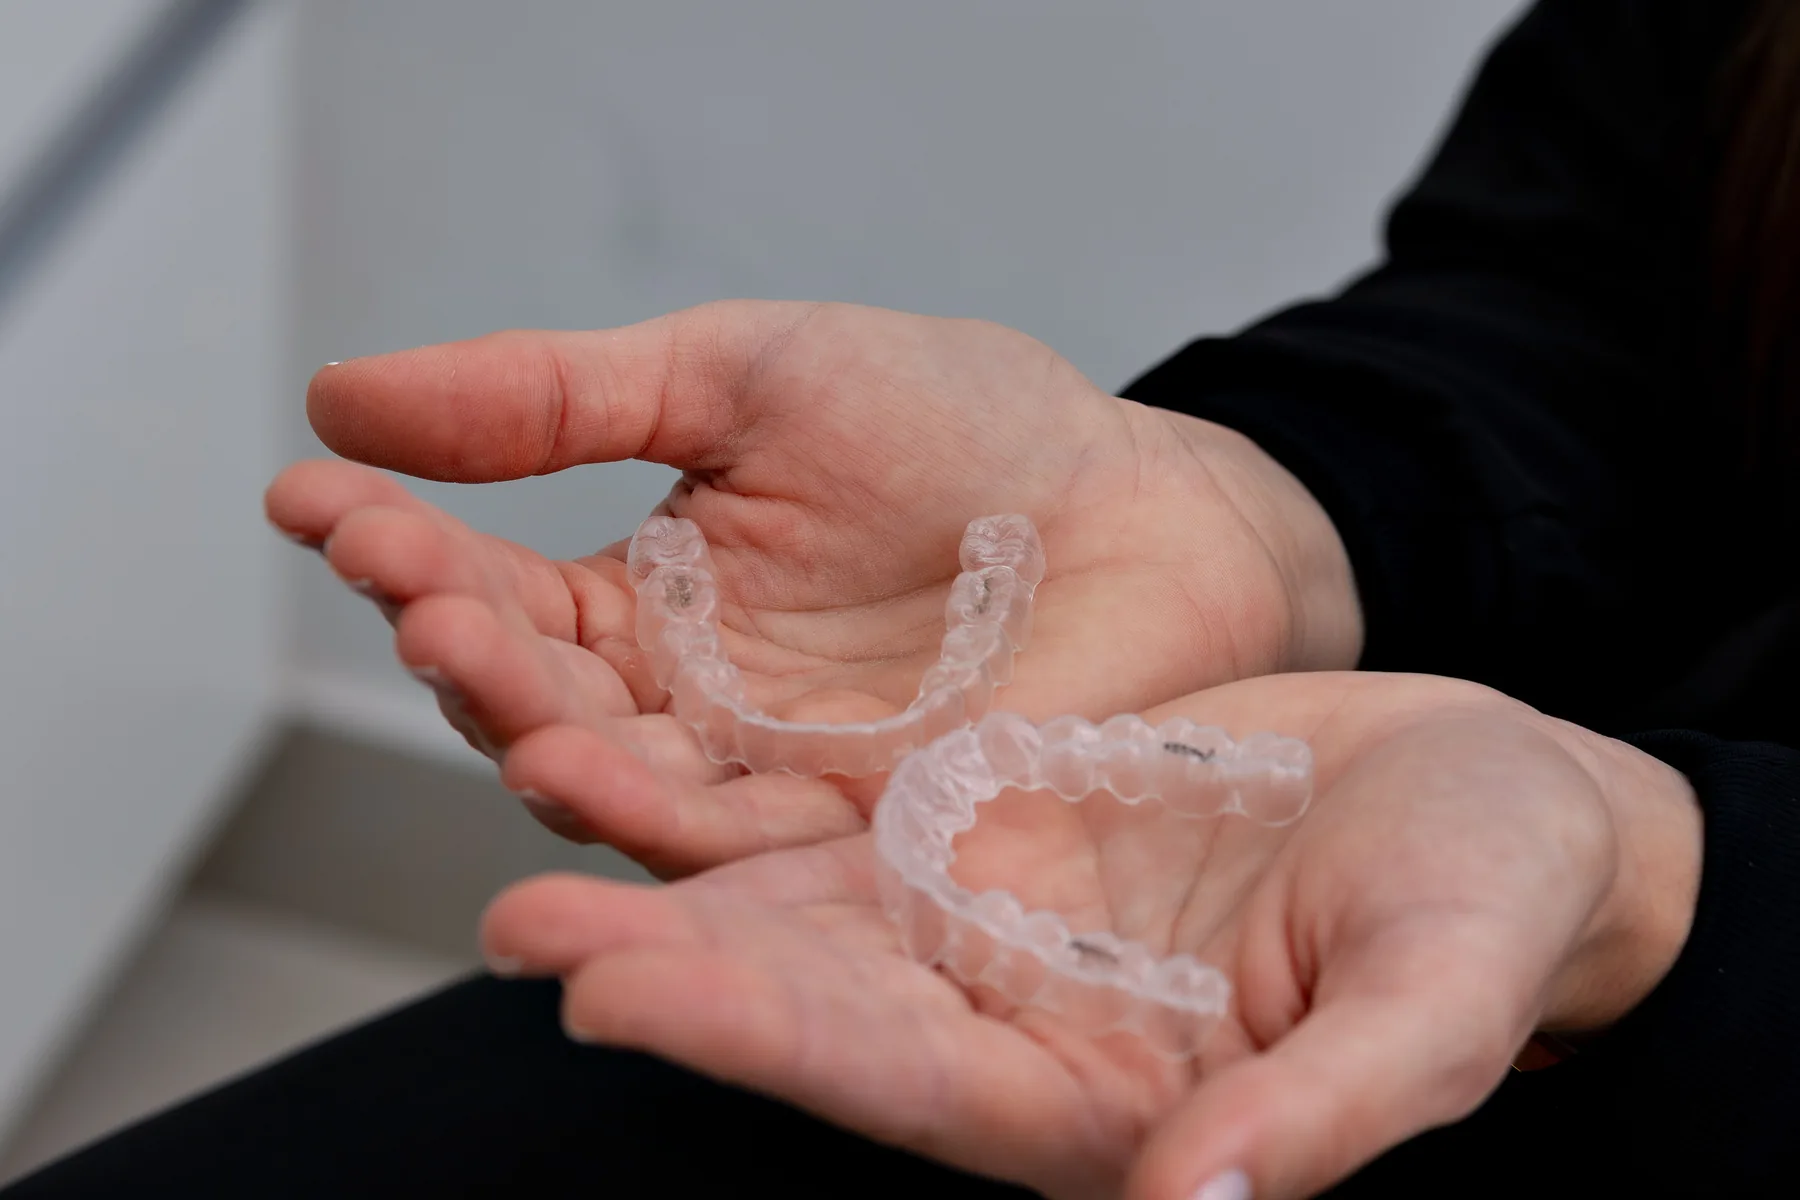
Delivery goes to your practice. Every case arrives as a complete package: the aligners in clear pouches, an aligner case in white or black, a storage box, chewies, IPR strips, an aligner file, a remover, the lab report and patient instructions.
That last item is worth more than it looks. A patient who knows how to insert, remove, clean and store their aligners calls less often with questions that are not really clinical questions.
Phase 4: treatment and follow-up
Each set is worn for roughly one to two weeks, 20 to 22 hours a day. Wear time is the only factor entirely outside your control and at the same time the most decisive for the result. Anything that makes the aligner more comfortable indirectly raises the chance that it is actually worn.
Material plays a part there. Multi-layer material holds its force for longer than seven days, where single-layer material slackens after a few days. And 40% lower initial forces mean the first days of a new set feel less tender – precisely the moment when patients would otherwise be inclined to leave the aligner out.
Interim scanning as a control
Most practices scan at the start and at the end, and treat everything in between as a matter of trust. That works until a case starts to drift.
An interim scan is useful when:
- tracking is doubtful and you have to decide between continuing or refining
- attachments have been placed and you want to check whether engagement does what you think
- a rotation halfway through is not following the staging
- you want to validate the finishing before deciding on a refinement
The benefit is not only clinical. It makes the conversation in your team more precise. Instead of “it looks a bit off” you can point at a specific region, compare the starting situation with the current one, and decide whether the problem sits with seating, with the attachments, with the bite position or with an unrealistic movement.
Phase 5: retention
Once the teeth are in place, the active treatment is done but the treatment itself is not. Without retention there is relapse – that is not a risk but a given.
A final scan makes retention considerably calmer. You can have a retainer made without scanning again, reproduce a lost retainer quickly, and you have a reference point to compare against later. That makes relapse measurable rather than debatable, which changes how you discuss it with your patient.
Who does what
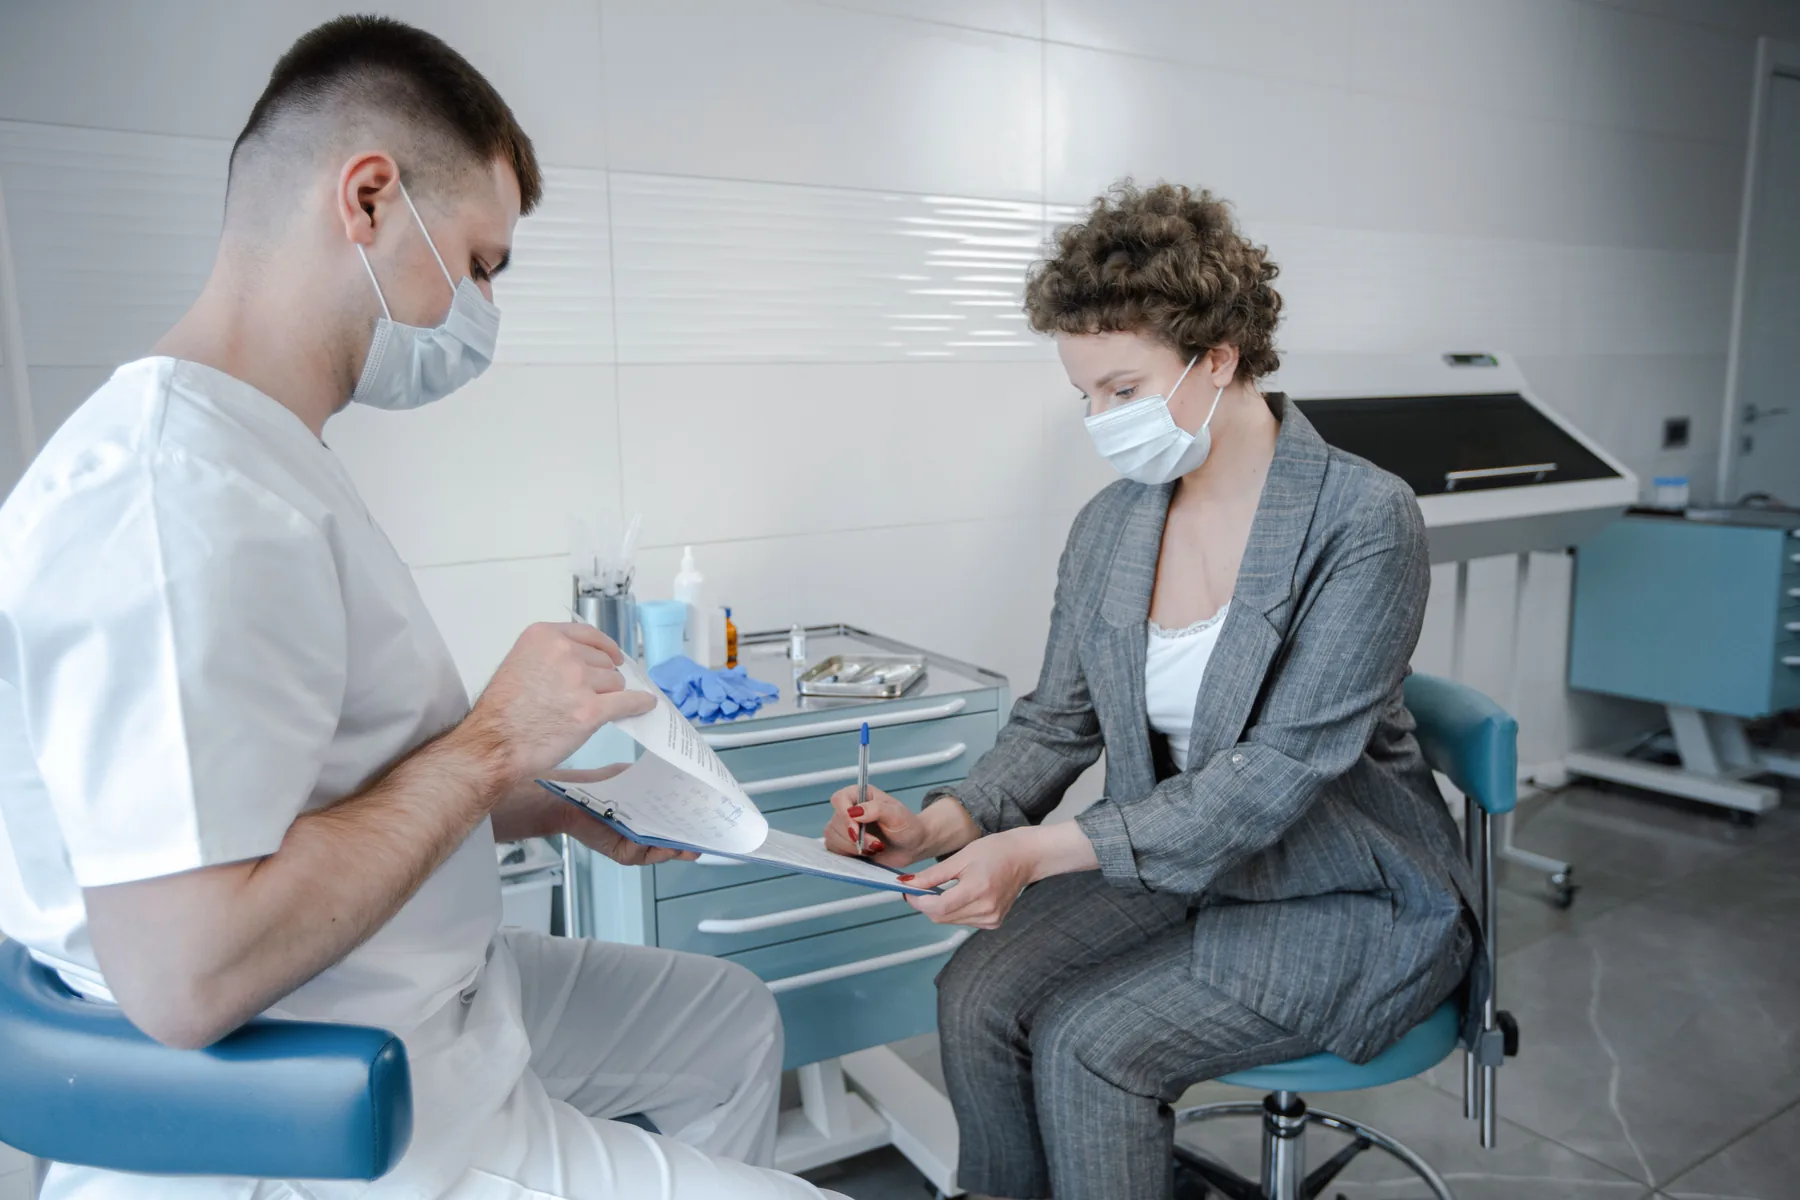
Most problems in aligner workflows are coordination problems, not clinical ones. Even in a small practice it helps to record who owns which step.
A division that works:
- The assistant handles preparation, retraction and, if trained, the scan itself
- The dentist does the clinical approval, validates the bite and writes the case notes
- One person tracks the status of every case, from sending to delivery
A short written work instruction makes that transferable:
- Prepare the patient, retract, dry the field
- Scan upper, scan lower, repair weak zones
- Register the bite and check plausibility
- Run the check, then export
- Send with photos and notes
- Record the status in the patient file
Where refinements come from
Refinements are often put down to complex cases. In practice they usually trace back to a handful of repeatable causes:
- A bite registration with a slight opening or shift because the patient was not guided
- Missing distal capture of the posterior elements, forcing anatomy to be reconstructed
- Saliva artefacts around the gingival third that distort the margins and the trim line
- Weak interproximal detail, making contact assumptions unreliable
- Missing notes, leaving the planner to make conservative or wrong choices
None of those five is clinically difficult. They are procedural problems, and procedural problems can be designed out.
For reference: the refinement rate at Optimal Aligners is 15.8%, well below the market average. That figure says something about the material and the planning work, but the part in your hands sits in the scan.
What to measure
Two numbers are enough to know whether your workflow is improving:
- The number of refinements per twenty aligner cases
- The number of times you had to resubmit the scan, per twenty cases
That second number is the fastest indicator. As soon as it drops, everything downstream gets easier.
In short
An aligner case is not a fragile chain but a system, as soon as the scan is consistent and the handover is clear. Planning and production can be outsourced. Scan quality cannot – and that is exactly the part that determines the result.